Work through: Upgrade vSphere 5.1 to 5.1 Update 1

This document is about upgrading vSphere 5.1 to 5.1 Update 1.


Phase 1: Preparation

You need these listed below:

  1. vCenter Installation Disc (iso): VMware-VIMSetup-all-5.1.0-1065152.iso;
  2. ESXi update package (zip, optional, will be used in Update Manager): update-from-esxi5.1-5.1_update01.zip;
  3. SSO admin password;
  4. vCenter service account password;
  5. An account within local administrators group of vCenter server; and,
  6. If you have Update Manager Client Plug-in installed on the same server of vCenter, it should be uninstalled before upgrading.


Phase 2: Upgrading vCenter and additions

  1. Insert vCenter Installation disc or mount iso.
  2. You cannot perform an upgrading installation by VMware vCenter Simple Install. It is required to upgrade all components manually as the same sequence as items listed in VMware vCenter Installer: vCenter Single Sign On, VMware vCenter Inventory Service, VMware vCenter Server, VMware vSphere Client (optional), VMware vSphere Web Client (optional) and VMware vSphere Update Manager.
  3. While upgrading the SSO (vCenter Single Sign On), you will be notified to enter the SSO admin password. A restart is required after performing SSO upgrading.
  4. Nothing more information is required while upgrading Inventory Service.
  5. Password of vCenter service account is required while upgrading vCenter Server. It is possible but highly not recommended to change service address or port while upgrading.
  6. All other 3 upgrading tasks are easy to perform. All you need is press Next button after starting the processes.
  7. (Optional) Check the server status by logging on from vSphere Client.
  8. (Optional) Install the Update Manager Client Plug-in now.


Phase 3: Upgrading ESXi

  1. Log on vSphere Client with Update Manager Client Plug-in.
  2. (Optional) Uploading ESXi upgrading package
    1. In the Update Manager Tab of  the top level of vCenter  Hosts and Clusters (top item from the left panel), select Admin View.
    2. In the Patch Repository tab, click Import Patches and upload update-from-esxi5.1-5.1_update01.zip. It will save downloading time of ESXi upgrading process.
    3. Go back to Compliance View.
  3. Scan your ESXi server.
  4. (Optional) Stage. You may want to stage one server first to test your patch repository before staging all servers.
  5. Remediate. You may need to set the servers in maintenance mode but not necessary. ESXi servers will be rebooted automatically after remediation.


Phase 4: VMtool upgrading

Upgrade VMtool on each virtual machine.


Phase 5: vSphere Client upgrading

Upgrade vSphere Client on all installed computer.


Phase 6: Troubleshooting

If there are some templates in your vSphere, you may need to convert them to virtual machine to upgrading VMtool. If this function is grayed out, you can re-enabled it by removing the related template from inventory and adding it back.
Shutdown firewall of Hyper-V Server

After deployment of Hyper-V Server, I trapped in trouble of  linking Hyper-V Server to SCVMM.

Finally, I find a way to shutdown firewall of Hyper-V Server, which helps me resolved the problem.

  1. Log on to Hyper-V Server;
  2. Type this into cmd window:
    netsh advfirewall set allprofiles state off

Enable Jumbo Frame on Hyper-V Server

I have some hyper-v servers with broadcom NICs. Due to lack of UI (device manager and property window of NIC), it’s not easy to enable Jumbo Frame (MTU9000) setting.

After a google dig and some experiment, I find a way to achieve that.

  1. Install BACS (Broadcom Advanced Control Suite). You may want to use this tool for creating team also. Remember the 4-digit number within brackets before the NIC you want to change MTU.
  2. Open regedit, expand HKEY_LOCAL_MACHINE\CurrentControlSet\Control\Class\4D36E972-E325-11CE-BFC1-08002BE10318}\(4-digit-number-of-NIC) on the left panel, you will get a value named “*JumboMTU” on the right. Change it to 9014 or any other value you need.
  3. Type this command “netsh int ipv4 sh int” to list all network. Remember the Name of the connection you want to change MTU.
  4. Type this command to change it to 9000 or any other value. The value should be the value you’ve set in step 2, minus 14:
    netsh interface ipv4 set subinterface “Connection Name” mtu=9000 store=persistent
  5. Reboot to apply.

[Fixed] vSphere 5.1 cannot login with domain account after changing domain controller

We changed our domain controllers of our company these days. Of course, we did that by SOP:

  1. use dcpromo to promote new servers as domain controllers;
  2. migrate PDC and other critical roles to the new domain controllers;
  3. use dcpromo to depromote the old domain controllers.

After these steps, all Windows servers works great.

But we can use neither vSphere Client nor vSphere Web Client to login vCenter with a domain account any more.


By asking VMware support, we realize we have to adjust Single Sign On for this change.

Steps:

  1. Open vSphere Web Client, using admin@system-Domain to login;
  2. Select Sign-On and Discovery – Configuration from the left panel;
  3. You will the a record related to your domain on the right;
  4. Select the record and make a screen capture of all information;
    (You cannot edit it directly, cos it won’t save successfully.)
  5. Delete that record and create a new one, with the same setting and new LDAP address;
    (For Authentication Type, the existed one may set to Reuse Session, but you have to change it Password and leave an account with password below. I don’t know the reason.)
  6. Save it.

All done.


Use MBR disk in ESXi 5

From ESXi 5.0, if you install ESXi to a empty hard disk, the target disk will be prepared with GPT-based partitions. That may cause some boot delay or even boot problem in some desktop motherboards.
Fortunately, you can use MBR mode instead of GPT.

Step:
1 Make a clean hard disk for ESXi. You can use any method to delete all partitions on that disk.
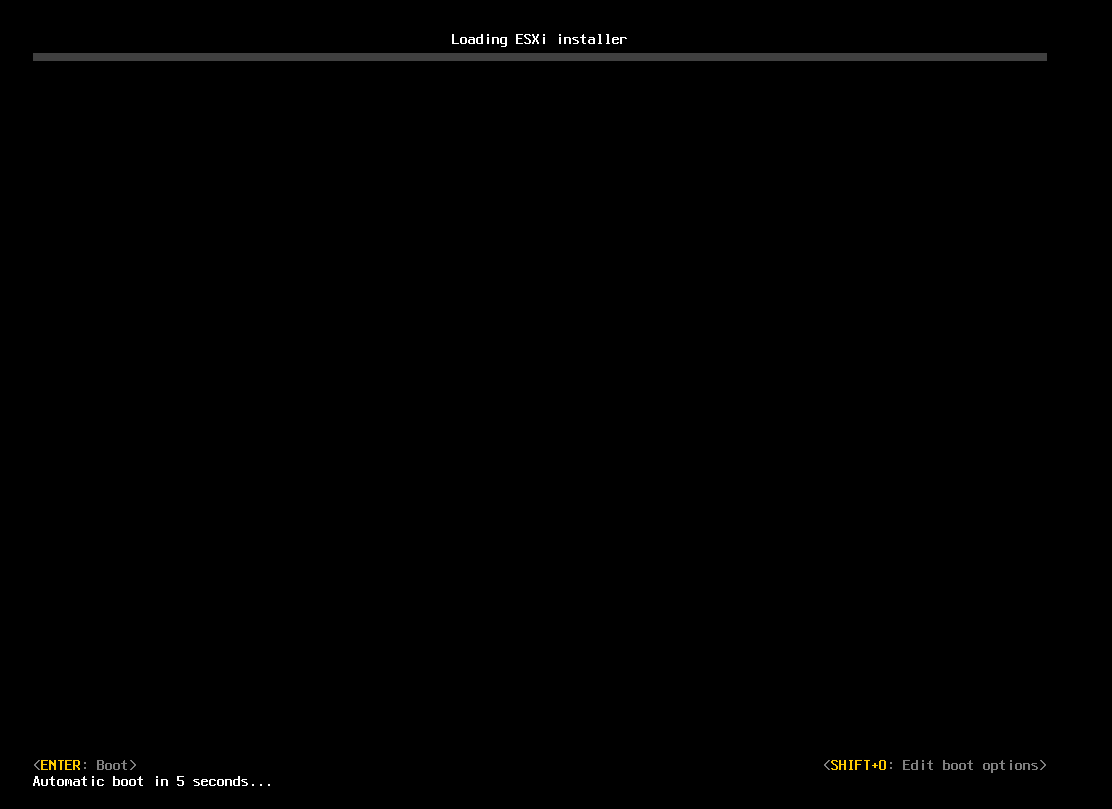
2 Boot with ESXi CD. During initial installation step, press Shift-O (letter, not number zero) when prompted (right down corner).
3 Type a space and “formatwithmbr” (without quotation marks). Press enter.
4 Go on setup. ESXi will make the target disk prepared with MBR-based partitions instead of GPT.

Normal Steps for Minimal Setup CentOS 6 on ESXi

1 Create a new VM as you wish. Install CentOS6 with minimal configuration. After installation, shutdown the VM.

shutdown –h now

2 Add a new E1000 network interface card (eth1 in this article, if not, change all related steps below).

3 Boot and login.

4 Setup a temporary network:

ifconfig eth1 <temporary ip> netmask <netmask> up
route add default gw <gateway>

  • if HTTP proxy is required: edit the yum configuration file.

vi /etc/yum.conf

and add these lines:

# The proxy server – proxy server:port number
proxy=http://mycache.mydomain.com:3128
# The account details for yum connections
proxy_username=yum-user
proxy_password=qwerty

  • if HTTP proxy is NOT required: edit DNS configuration file. See step 13.
  • if Route is required: edit route configuration file. See step 14.

5 Install perl, and update system.

yum install perl
yum update

6 Shutdown.

shutdown –h now

7 Remove the E1000 network interface card, which was inserted in step 2.

8 Boot and login.

9 Insert VMware Tools CD.

10 Install VMware Tools, and reboot. (NOTE: you may need to do this step every time after system update)

cd /
mount /dev/cdrom /media
tar –zvxf /media/VM*
cd vmware-tools-distrib/
./vmware-install.pl

follow the instructions on your screen.

umount /media
reboot

11 Wait for reboot and login.

12 Setup eth0

vi /etc/sysconfig/network-scripts/ifcfg-eth0

and add these lines:

ONBOOT=yes

  • if DHCP is enabled:

BOOTPROTO=dhcp

  • if static IP is preferred:

IPADDR=<IP>
NETMASK=255.255.255.0
BOOTPROTO=none

13 Setup DNS.

vi /etc/resolv.conf

and add these lines:

nameserver <1st DNS IP>
nameserver <2nd DNS IP>
domain <domain name> #your domain name, optional

14 Setup route.

vi /etc/sysconfig/network

and add these lines:

NETWORKING=yes
HOSTNAME=<value>
GATEWAY=<Gateway IP>
GATEWAYDEV=eth0

15 Reboot.

reboot

16 Disable SELINUX if you don’t like it.

vi /etc/sysconfig/selinux

find the line start with SELINUX=, and set it to disabled.

SELINUX=disabled